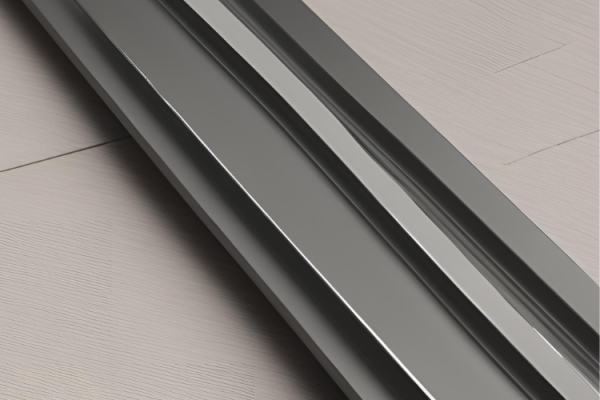
Sliding doors are a beautiful addition to any home, offering elegance and practicality. However, over time, the tracks can wear out or get damaged, causing your sliding door to stick or not function properly. Replacing the track can save you time, money, and the hassle of dealing with a malfunctioning door.
Why You May Want to Change Your Sliding Door Track
- Wear and Tear: The most common reason for sliding door track replacement is simple wear and tear. Over time, the track can become worn, which can make the door difficult to open and close.
- Damage: Accidents happen, and sometimes tracks can get bent or damaged. This can obstruct the door’s path and require a replacement to ensure smooth operation.
- Improving Door Function: If your door isn’t sliding smoothly or you hear noises during operation, replacing the track can improve the functionality of your door.
- Upgrading: Newer track designs might offer better performance or aesthetics, prompting an upgrade.

Tools and Materials Needed
- New sliding door track
- Screwdrivers (Phillips and flat-head)
- Utility knife
- Silicone lubricant
- Vacuum
- Measuring tape
- Hacksaw (if cutting is necessary)
- Drill
- Level
Step-by-Step Guide to Replacing Your Sliding Door Track
Step 1: Prepare the Area
Before you start, ensure the work area is clean and clear of any debris. Use a vacuum to clean out the track area thoroughly to avoid any interference during the installation.
Step 2: Remove the Sliding Door
Carefully lift the sliding door out of its current track. It’s usually best done with the help of another person. You might need to adjust the rollers using the adjustment screws at the bottom of the door to lower it enough so that it can be lifted out.
Step 3: Remove the Existing Track
Once the door is out, remove any dirt and debris from the old track. Use a screwdriver to unscrew and remove the old track. Some tracks are simply laid down and not screwed, in which case, you just lift it up.
Step 4: Prepare the New Track
Measure the old track and cut your new track to match its length if necessary. You can use a hacksaw to cut the metal or plastic, depending on the material of your track. Ensure the ends are smooth and free of any burrs to prevent damage to the rollers.
Step 5: Install the New Track
Position the new track exactly where the old one was located. Use a level to make sure it’s perfectly straight. Once in place, screw it down securely. If the new track comes with its specific fasteners, use those. Make sure it’s fastened at regular intervals to prevent any sagging or movement.
Step 6: Lubricate the Track
Before reinstalling the door, apply a silicone-based lubricant to the track. This helps the door slide smoothly and reduces wear and tear on both the track and the rollers.
Step 7: Reinstall the Sliding Door
With the help of your assistant, lift the door back into place. Carefully align the rollers with the new track. Once the door is on the track, adjust the rollers with the adjustment screws to ensure the door is level and has an even gap along the edges.
Step 8: Test the Door
Slide the door back and forth several times to ensure it moves smoothly. Listen for any scraping or rough movements, and adjust the rollers as needed. Make sure the door locks securely.
Step 9: Clean Up
Remove any tools, materials, and debris from the work area. Give the new track and the door a final wipe-down to remove any fingerprints or smudges.
Conclusion
Replacing a sliding door track might seem daunting, but with the right tools and a bit of know-how, it’s a manageable DIY project that can greatly improve the function and look of your sliding door. Always prioritize safety when handling heavy doors and sharp tools. If you encounter any significant challenges, don’t hesitate to contact professionals like us at JDM Sliding Doors. Your satisfaction with your sliding doors is our top priority!
By maintaining your sliding doors, you ensure they continue to enhance the beauty and functionality of your home. Happy DIY-ing, and remember, we’re here to help if you need us!


